Saturday, May 28, 2011

Into the Light of Day

I didn't really get started until December of 08.  Hurricane Ike sank her in early September but she wasn't recovered until the end of the month. I spent two more months wringing my hands over the sell or scrap decision and another month dickering with the insurance underwriters and organizing a move from the salvage/auction yard.

I figured two years to rebuild her. We used to build offshore drilling rigs in 16 months and that was from lay the keel to launch. It seemed a reasonable estimate.  I missed that mark by a country mile and I'm still months from completion, but that's ok.  I'll finish it when I finish it and that will happen right where she sits. I do not want to launch before all systems are in and function tested. In the mean time I keep my head in the game by  dividing the project into segments defined by certain watershed events like:

Fishing her out of the harbor.


Cleaning her out.


New engine installed


New bulkheads tabbed in.


Bowsprit on


And last week pulling her out of the shed into the light of day.


Coming out, boss.


Adam supervising the move

Thursday, May 26, 2011

Monday, March 7, 2011

Sink in Forward Cabin

I found a small sink for the head area.  It's a 12 inch round copper vessel style that mounts on the top of the cabinet. ( The photos below are from the dealer brochure )  This style solves the problem of drain line interference with the air conditioner compressor that is mounted directly below.  The sink drain line can now be routed alongside the compressor and aft to T into the galley sink drain.  One 1.5 inch thru hull and seacock will serve both the galley and the head sink drains.

The faucet hot and cold water mixing valve will connect to a matching side spray fixture that will serve as a hand held shower.

The water maker has an output line to sample the end product.  This circuit cannot be valved so I will look for a fountain spigot to mount over the sink. The brine reject water line will T into the sink drain below the counter.


Tuesday, February 22, 2011

Chain Plates and Anchor Rollers

The cap shrouds will attach to the single eye chain plate now firmly fastened to the hull.  The double wide chain plate will serve double duty to the lower shroud and the topping lift.


Should have installed chain plates before shelves.


The stainless steel backing plate is glassed to the underside of the deck.  Sampson posts sprit heel is fastened with 3/4 inch hex cap srews 4 inches long.


Gammon iron fastened


Need to find 6 inch long 1/2 inch carriage bolts to fasten thru rub rail and hull.


Boomkin stays


Port side chain plates 


Stem mounted rollers


Starboard side chain plates

Need to bellmouth anchor line bails so not to chafe rode


Seen from astern


Deck Chain plates for running backstays  


Again but closer


Wide one aft for topping lift and lower 5/16 inch shrouds and forward  for 1/4 inch cap shrouds

Friday, February 11, 2011

Teak and Bronze

With Rose’s galley forward and settee aft configuration a permanently installed table would not be very practical.  It’s in the way as soon as you go below and permanent table legs or deck fasteners would likely preclude using the sole as a third berth.  My compromise solution is a small 24 inch square folding  teak  table that fits down below and in the cockpit.  I know it’s a bit early to be worrying about where dinner will be served but I bought it anyway.


Bronze jewelry from Port Townsend arrived last week.   I would have thought the mast collar flange fastener holes would have been larger, say ½ inch for through bolts.  I am going to drill them out.   The mirror finished deck chain plates for the back stay tackle and the sway hooks really do qualify as jewelry.     


Tuesday, January 25, 2011

More Pics

Port light insert


Main hatch with tempered glass.


Galley   


Engine room


Instrument panel and chart table


Breaker panel, engine control, battery selector, bilge pumps controls, windlass breaker


Engine controls


Port side settee


Dorade boxes stereo speakers facing aft


Dorade boxes forward end


Main hatch, port side locker doors,starboard side port light insert


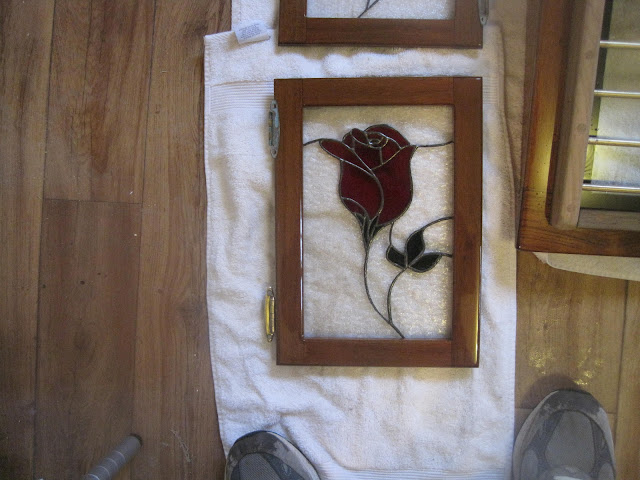
Locker cabinet door, muddy New Balance tennis shoes

Saturday, January 1, 2011

Change Orders

Change order no 420 (roughly): 
Scratch the sink in the head; there is no place to put it. As I drew it up, the bottom of the sink would be right on top of the air conditioner. I could move it to the starboard side countertop but that wipes out a bank of 3 drawers. In hindsight I didn’t need it anyway....the galley sink is only 5 feet away. So, we scratch the sink, which means we don't need the sink drain thru-hull. Now we have an extra sink and seacock.

However, the hot and cold water lines have already been pulled to that location and we need a solution to the air conditioner pan drain issue. Running it into the bilge is not a good option. The new plan is to install a hand held shower and build a small sump pan with pump. The A/C pan can drain into the shower sump.  A self-priming waste water pump will send shower gray water and AC water over the side at the transom.